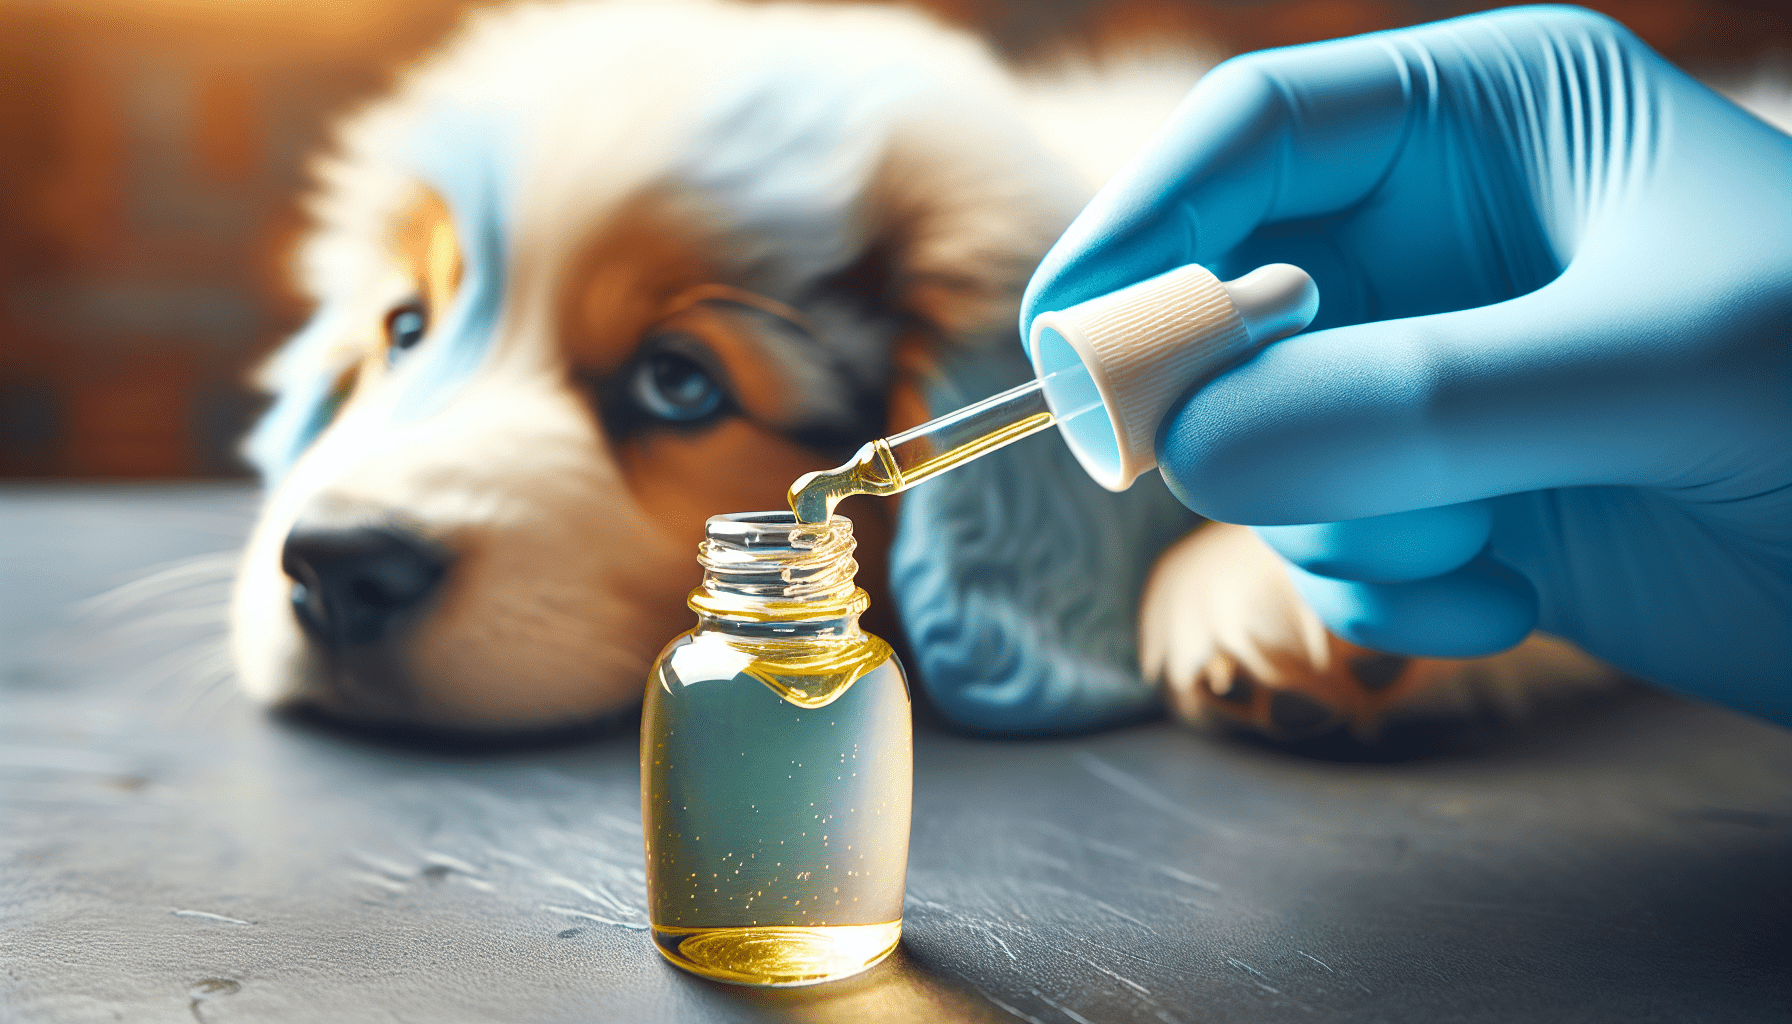
Keeping your furry friend’s ears clean and healthy is essential for their overall well-being. In this article, you will discover the top ways to effectively clean your dog’s ears, ensuring they stay free from dirt, debris, and pesky infections. Whether you want to prevent common ear ailments or simply provide your pup with a spa-like treatment, these tips will leave their ears fresh, squeaky clean, and itch-free. So, grab those cotton balls and get ready to pamper your four-legged pal like never before!
Gather necessary supplies
Before you begin cleaning your dog’s ears, it’s important to gather all the necessary supplies. This will ensure that the process goes smoothly and efficiently. You will need cotton balls or pads to help clean the ears, an ear cleaning solution specifically designed for dogs, treats to reward your furry friend, a towel or cloth for drying, and gloves (optional) to protect your hands during the process.
Inspect the ears
Before you start cleaning your dog’s ears, it’s important to inspect them for any signs of infection or irritation. Look for redness, swelling, or discharge, which could indicate an underlying issue. Additionally, observe your dog’s reaction to touch. If they show signs of discomfort or pain when their ears are touched, it may be a sign of an ear problem.

Prepare your dog
Finding a quiet and comfortable space for ear cleaning is essential to ensure that your dog feels relaxed and at ease. Make sure the area is free from distractions and noise. It’s also important to ensure that your dog is in a calm state before starting the cleaning process. If your dog seems anxious or stressed, take some time to help them relax before proceeding. Having treats ready for positive reinforcement will also help create a positive association with the ear cleaning process.
Applying the cleaning solution
Before applying any cleaning solution to your dog’s ears, it’s crucial to read and follow the instructions on the bottle. Different solutions may have varying directions for use. Once you are familiar with the instructions, gently squeeze the solution into the ear canal as directed. Be careful not to overfill the ear or force the solution, as this could cause discomfort for your dog. After applying the solution, massage the base of the ear to help distribute it. Finally, allow your dog to shake their head, which will help remove any debris or excess solution.

Remove excess solution and debris
To remove the excess solution and debris from your dog’s ears, use cotton balls or pads to gently wipe the opening of the ear canal. It’s important to avoid inserting anything into the ear canal, as this can cause damage. Instead, focus on wiping the visible parts of the ear. Continue wiping until the cotton ball comes out clean, indicating that most of the solution and debris has been removed. If the cotton ball becomes dirty, use a fresh one to ensure proper cleaning.
Clean the outer ear
After removing the excess solution and debris, it’s time to clean the outer ear. Dampen a cloth or towel with warm water and gently wipe the folds and crevices of the outer ear. Take care not to go too deep into the ear canal, as this can cause discomfort or harm. Cleaning the outer ear helps remove any remaining dirt or residue and ensures that your dog’s ears are thoroughly cleaned.
Dry the ears
Once the cleaning process is complete, it’s important to dry your dog’s ears. Use a clean towel or cloth to gently dry the ears, being careful not to rub or wipe excessively. Excessive rubbing can cause irritation and discomfort for your dog. Pay extra attention to the areas behind the ears where moisture can get trapped. Drying the ears thoroughly helps prevent the growth of bacteria or fungi that thrive in moist environments.
Reward your dog
After going through the ear cleaning process, reward your dog with a treat and praise for their cooperation. Making the experience positive and rewarding will help create a good association with ear cleanings and encourage your dog to cooperate in the future. This positive reinforcement can make the process easier for both you and your furry friend.
Regular maintenance
Regular maintenance is crucial for maintaining your dog’s ear health. It is generally recommended to clean your dog’s ears once a week or as advised by your veterinarian. Regular cleaning helps prevent the buildup of wax, dirt, and debris, reducing the risk of infections or other ear issues. While cleaning, monitor your dog’s ear health for any changes. If you notice persistent issues such as persistent itching, redness, or foul odor, it’s important to consult a professional for further evaluation and guidance.
Seek veterinary assistance
If you have concerns or difficulties with cleaning your dog’s ears, it’s always a good idea to seek veterinary assistance. A veterinarian can provide guidance and perform a thorough ear examination if needed. They can identify any underlying issues that may require further treatment or specialized care. Remember, your veterinarian is the best resource for any questions or concerns related to your dog’s ear health.
By following these top ways to clean your dog’s ears, you can ensure that your furry friend’s ears stay clean and healthy. Regular ear cleanings, proper techniques, and seeking veterinary assistance when needed are key to maintaining your dog’s ear health. Remember to approach the process with patience, kindness, and positive reinforcement to create a positive experience for both you and your beloved canine companion.

